Keys to Successful Cycling Return
Embracing the joys of cycling can be a life-changing experience for enthusiasts and hobbyists alike. With numerous physical and mental health benefits, it’s no wonder people are eager to get back in the saddle or start their cycling journey from scratch. In this comprehensive guide, we will explore essential aspects of successfully returning to cycling, from selecting the right bicycle and proper bike fit to mastering basic maintenance and improving bike handling skills. So, let’s get started and unlock the keys to a successful cycling return!
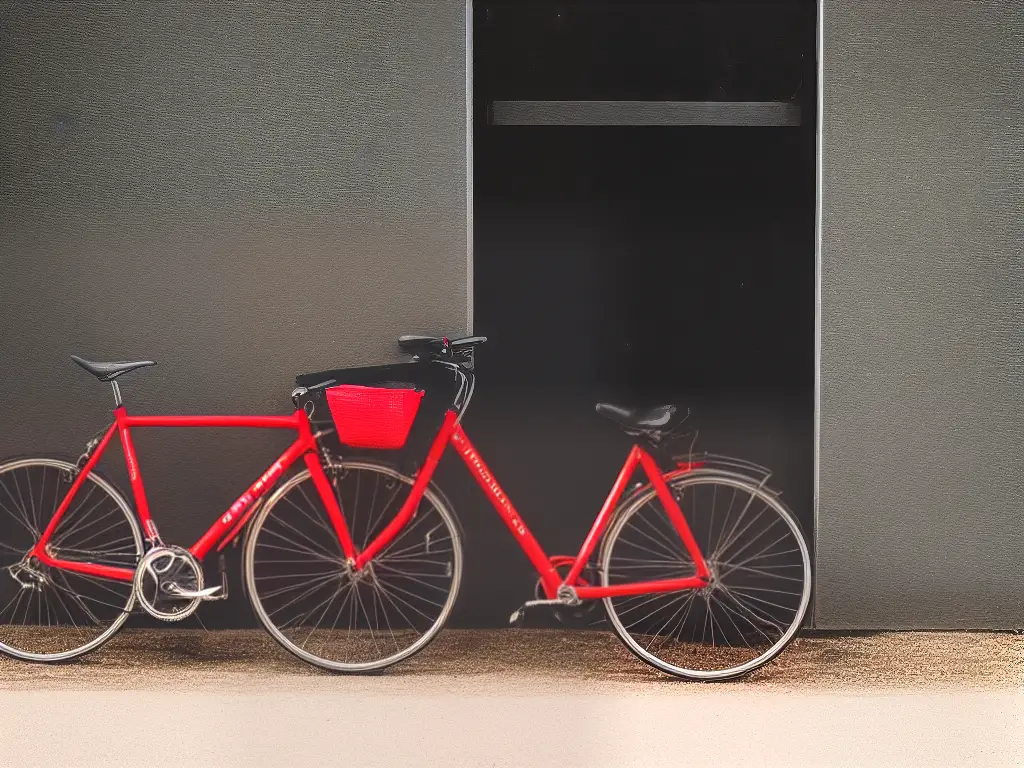
Selecting the Right Bicycle
Cycling is a fun and healthy activity that people of all ages can enjoy. Choosing the right bicycle is essential, as it ensures a comfortable and enjoyable ride tailored to your specific needs and goals. This guide will help you learn about different types of bicycles, their features, and how to select the ideal one for your cycling objectives. Consider factors such as comfort, budget, and terrain when making your selection.
- Determine your cycling goals and preferences.
Before starting your search for a bicycle, think about your primary cycling goals, type of terrain you’ll be riding on, and how often you plan to use your bike. Are you mainly interested in leisurely rides around the neighborhood, long-distance touring, off-road adventures, or competitive racing? Your cycling goals will heavily influence the type of bicycle that will best suit your needs. - Learn about different types of bicycles.
There are several types of bicycles on the market, each designed for specific purposes and terrains. Here are some common categories to consider:- Road bikes: Designed for speed and efficiency on paved surfaces, road bikes feature lightweight frames, skinny tires, and drop handlebars. These bicycles are ideal for long-distance riding and competitive cycling.
- Mountain bikes: Built for off-road terrain and trail riding, mountain bikes have sturdy frames, suspension systems, and wide, knobby tires for excellent traction. These bikes are suitable for those looking to explore dirt paths, rugged trails, and off-road adventures.
- Hybrid bikes: Combining features of road and mountain bikes, hybrid bikes offer versatility and comfort. With a more relaxed geometry, wider tires, and flat handlebars, hybrid bikes are perfect for casual riding, commuting, and riding on varied surfaces like paved roads, gravel, and light trails.
- Cruiser and comfort bikes: These bikes prioritize comfort with their upright riding position, plush saddles, and wide tires. They are ideal for leisurely rides around the neighborhood, beach, or park.
- Consider your budget.
Bicycles can range from a few hundred to several thousand dollars, depending on the materials, components, and design. Determine your budget before shopping, and aim to get the best quality bicycle within your price range. Keep in mind that you may also need to consider the cost of accessories such as helmet, lock, lights, and maintenance items like pumps and spare tubes. - Test ride various bicycles.
Visit local bike shops and try out different bicycles to get a feel for their comfort, handling, and performance. The ideal bike will depend on your body size, riding style, and personal preferences. Pay attention to factors like:- Frame size: Ensure the bike has the proper frame size that allows for comfortable pedaling and easy control. You should be able to stand over the top tube with both feet flat on the ground.
- Saddle: Test the saddle for comfort and support. Some saddles are designed specifically for certain types of riding or gender, so find one that suits your needs.
- Handlebars: Select handlebars that allow for a comfortable hand and wrist position, as well as easy access to brakes and gears.
- Gears and brakes: Choose a bike with an appropriate number of gears for the terrain you plan to ride on. Test the brakes for effectiveness and ease of use.
- Seek professional advice.
Consult with knowledgeable staff at bicycle shops and consider their recommendations based on your cycling goals, preferences, and budget. Experienced cyclists in your community or local cycling clubs can also offer valuable input and suggestions.

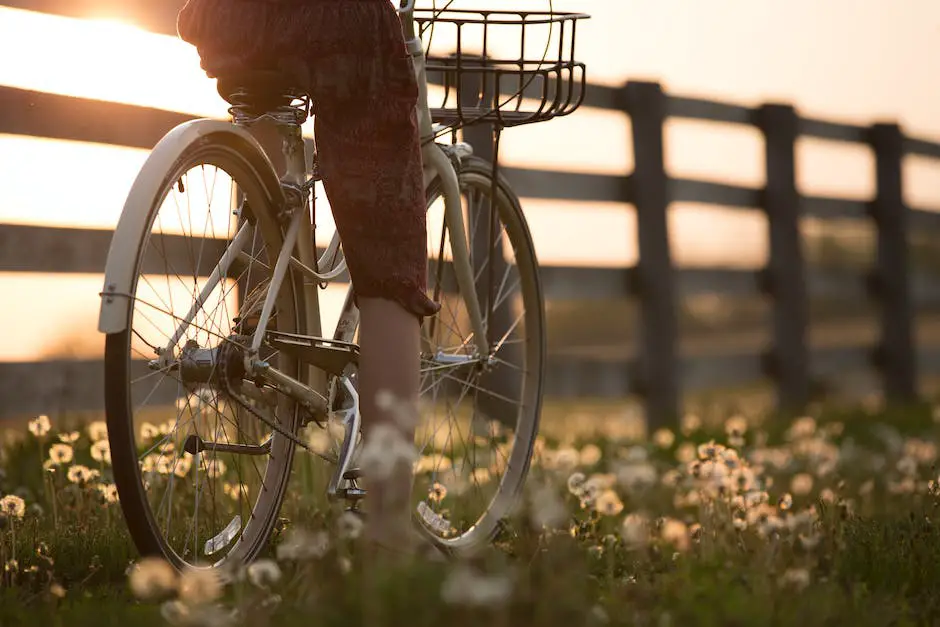
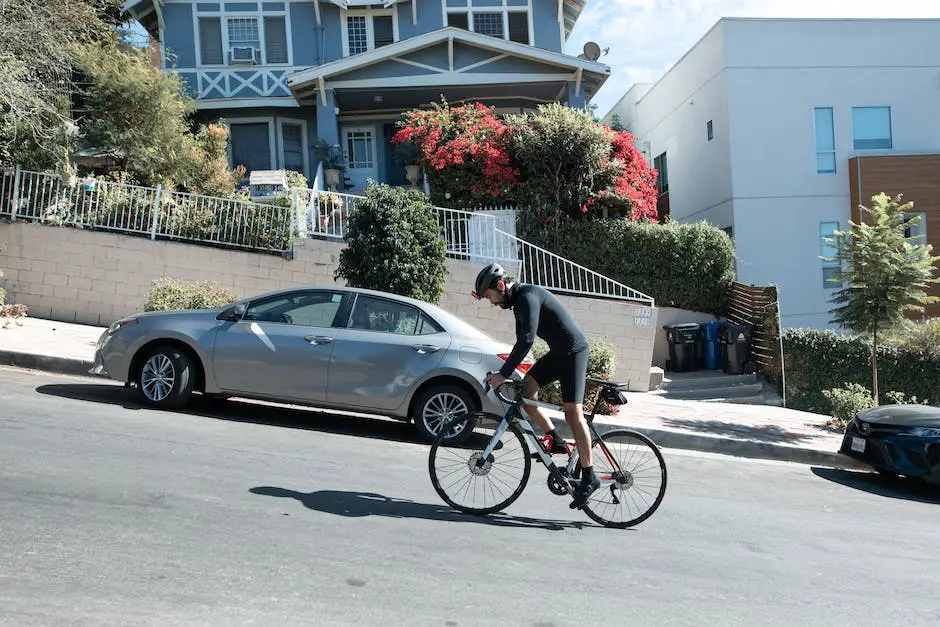
Proper Bike Fit
Introduction
Returning to cycling can be an exciting and rewarding experience. However, to truly enjoy the sport and avoid injury, it’s crucial to have a properly sized and adjusted bicycle. A correctly fitted bike provides comfort, efficiency, and control, while reducing the risk of injury. In this guide, we will help you understand the importance of bike fit, contact points, and the necessary adjustments you can make to ensure a successful cycling return.
1. Importance of Proper Bike Fit
A correctly sized and adjusted bicycle offers numerous benefits:
- Enhances comfort: A properly fitted bike minimizes discomfort during rides, allowing you to enjoy cycling for longer periods.
- Boosts efficiency: A comfortable, well-fitted posture enables you to generate optimal power, making your rides more efficient.
- Improves control: The right bike fit enhances your connection to the bike, giving you better control and confidence when navigating various terrains.
- Reduces risk of injury: A poorly fitted bike puts strain on the body, increasing the chances of developing pain or injury. The correct fit reduces this risk and promotes a healthier riding experience.
2. Key Contact Points & Adjustments
When fitting your bike, pay attention to the following contact points and make necessary adjustments for optimal comfort and efficiency:
A. Saddle Height & Position:
- Start by ensuring your saddle is level. Sitting too high or low can cause discomfort and limit power output.
- Adjust the saddle height so that when your heel is placed on the pedal at the bottom of the downstroke, your leg is almost straight. This will allow for a slight bend in your knee when the ball of your foot is on the pedal.
- Move the saddle forward or backward to adjust your knee position. When the pedal is at 3 o’clock, your knee should be directly above the pedal spindle.
B. Handlebar Height & Reach:
- Handlebar height affects your posture and comfort. Typically, you should set the handlebars at the same height as your saddle or slightly higher. This will vary depending on personal preference and riding style.
- Adjust the reach by either changing the stem length or sliding the saddle forward or backward. A proper reach allows you a slight bend in your elbows when holding onto the handlebars, taking pressure off your hands and wrists.
C. Cleat Position & Foot Alignment (if using clipless pedals):
- Position the cleat on the ball of your foot, ensuring you have ample room to wiggle your toes.
- Adjust the angle of the cleat to ensure your foot, knee, and hip are aligned during the pedal stroke. Proper alignment minimizes strain and maximizes power output.
Conclusion
Investing time in properly fitting your bike is essential for a successful return to cycling. A comfortable and efficient bike fit will not only enhance your riding experience but also keep you injury-free. Always consult with a professional bike fitter if you are uncertain about your adjustments or experience persistent discomfort while riding. Happy cycling!

Photo by pgreen1983 on Unsplash
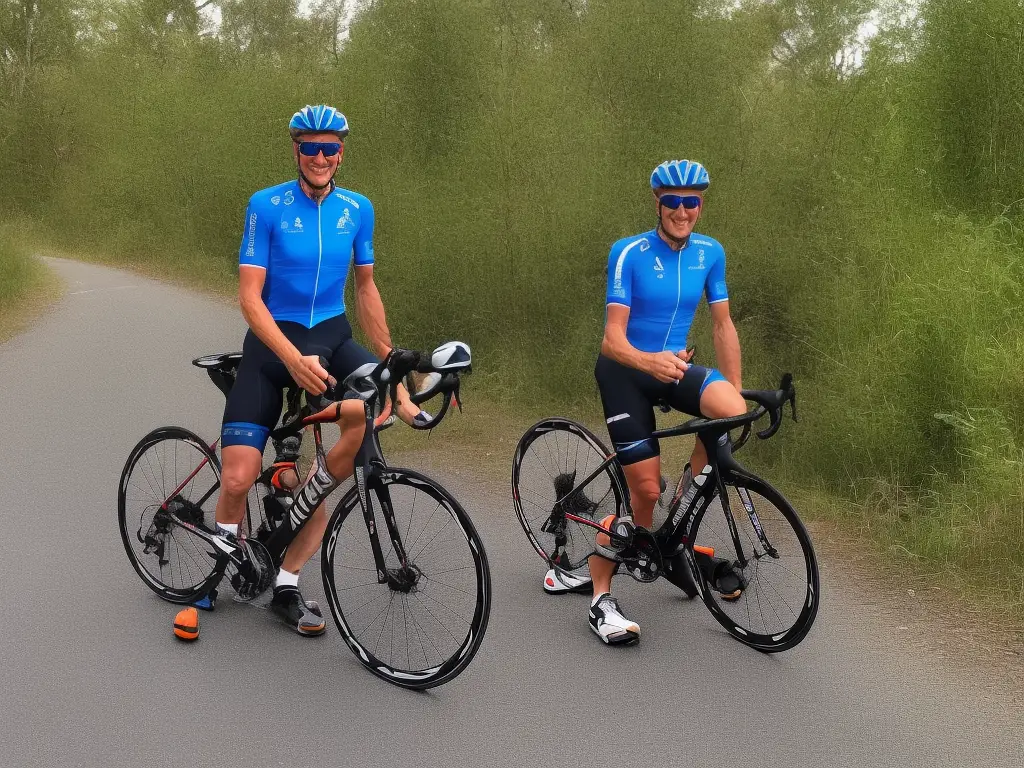
Cycling Gear and Equipment
Title: Essential Cycling Gear and Equipment for a Safe and Enjoyable Experience
Introduction:
Cycling is a fun, healthy, and environmentally friendly way to get around or simply enjoy the outdoors. Whether you’re a beginner or a seasoned cyclist, having the right gear and equipment is essential for safety and comfort during your rides. In this guide, we’ll walk you through the key items you’ll need for a successful cycling experience.
1. Helmet:
Wearing a helmet is the most important safety precaution you can take while cycling. Find a helmet that fits snugly and comfortably on your head, with straps that can be adjusted for a secure fit. Look for helmets with adequate ventilation and make sure it meets safety standards (such as the CPSC certification in the United States).
2. Gloves:
Cycling gloves provide comfort and protect your hands from blisters and prolonged pressure on handlebars. They also offer extra grip and can improve your control over the bike. Choose gloves that fit well, have padding in the right areas, and are made of breathable materials.
3. Appropriate Clothing:
Wear moisture-wicking, breathable clothes that allow you to move freely while cycling. Opt for cycling-specific shorts or tights with padding (chamois) to reduce friction and add comfort, especially during longer rides. For your upper body, consider wearing a cycling jersey designed with rear pockets for easy access to your essentials.
4. Weather-appropriate Gear:
Dress in layers for changing weather conditions. In colder climates, wear a moisture-wicking base layer, an insulating mid-layer, and a waterproof outer layer to stay warm and dry. In warmer months, opt for lightweight, breathable clothing that will wick away sweat. Don’t forget sunscreen and sunglasses for protection from the sun.
5. Reflective Gear and Lights:
Being visible to other road users is crucial for your safety. Wear bright, reflective clothing and accessories (such as vests, jackets, or ankle bands) to increase your visibility. Equip your bike with front and rear lights that can be easily seen from all angles, especially when cycling in low-light conditions or at night.
6. Water Bottle or Hydration System:
Staying hydrated is important for optimal performance and overall health. Bring along a water bottle that can be easily accessed while riding, or invest in a hydration backpack or system that has a convenient drinking tube.
7. Bicycle Toolkit and Spare Equipment:
Be prepared for minor repairs or adjustments on-the-go with a basic bicycle toolkit consisting of a multi-tool, spare inner tube, tire levers, and a portable bike pump or CO2 inflator. Store these essentials in a saddlebag, frame bag or backpack.
8. Bike Lock:
To deter theft, always secure your bike with a reliable lock when leaving it unattended, even if it’s only for a short period. Choose a sturdy lock that is difficult to break, such as a U-lock or a chain lock with a strong padlock.
9. Cycling Shoes and Pedals:
For efficient pedaling and better control over your bike, consider investing in cycling shoes with rigid soles that clip into pedal systems designed for road or mountain biking. This will improve your power transfer and overall comfort during rides.
10. Padded Saddle:
A comfortable saddle is critical for an enjoyable cycling experience. Look for a saddle that suits your body type and riding style and consider options with additional padding or cut-outs for pressure relief.
Conclusion:
With the right gear and equipment, you’ll be able to enjoy your cycling adventures safely and comfortably. Invest in quality essentials that suit your needs and style, and always prioritize your personal safety while out on the road or trail. Happy cycling!

Basic Bike Maintenance
Introduction:
Cycling is not only a fun and environmentally friendly way to get around, but it’s also a fantastic form of exercise. To keep your bike in optimal condition and maintain its performance, it’s essential to carry out regular maintenance tasks. In this guide, we will cover the basic bike maintenance tasks that every enthusiast and hobbyist should know, including inflating tires, cleaning and lubricating the chain, checking for wear, adjusting brakes, and replacing inner tubes. Let’s get started!
Inflating Tires
Materials needed: Bike pump with pressure gauge, tire pressure chart or recommended tire pressure information
Instructions:
- Locate the recommended tire pressure for your bike’s tires. This information can be found on the side of the tire or in the owner’s manual.
- Unscrew the cap from the tire valve.
- Attach the bike pump to the tire valve by placing the pump’s nozzle onto the valve and securing it (either with a lever or by screwing it on, depending on your pump’s design).
- Inflate the tire to the recommended pressure, monitoring the pressure using the pump’s built-in gauge.
- Remove the pump from the valve and quickly screw the cap back onto the valve to prevent air from escaping.
- Repeat the process for the other tire.
Cleaning and Lubricating the Chain
Materials needed: Degreaser, chain lubricant, clean rags, gloves, and a brush
Instructions:
- Put on gloves to protect your hands from grease and dirt.
- Apply degreaser to the brush and gently scrub the chain to remove dirt and buildup.
- Use a clean rag to wipe down the chain, removing as much degreaser and dirt as possible.
- Apply chain lubricant to the entire length of the chain, making sure to get it in between the links.
- Gently pedal backwards for a few revolutions to distribute the lubricant evenly, and then use a clean rag to remove any excess lubricant, as this can attract dirt and grime.
Checking for Wear
Materials needed: A visual inspection of your bike
Instructions:
- Inspect your tires for signs of wear, such as bald spots, cuts, or cracks.
- Check your brake pads for excessive wear. Replace the pads if the grooves are worn down or if there is less than 1/4 inch of material remaining.
- Examine your chain for signs of wear like rust, stiff links, or excessive stretching. Replace the chain if you notice these issues.
- Look for any loose nuts, bolts, and fasteners, and tighten them if needed.
Adjusting Brakes
Materials needed: Allen wrenches or appropriate tools for your bike’s brake system
Instructions:
- Check the alignment of the brake pads by squeezing the brake lever and observing where the pads contact the rim.
- If the pads are not aligned correctly, loosen the brake pad’s retaining bolt slightly, adjust the pad’s position, and then retighten the bolt.
- Check the brake cable tension by squeezing the brake lever. If the lever feels too loose or too tight, adjust the cable tension by turning the barrel adjuster on the brake lever or at the brake caliper.
Replacing Inner Tubes
Materials needed: Tire levers, spare inner tube, bike pump with pressure gauge
Instructions:
- Remove the wheel from the bike and deflate the tire by pressing down on the valve.
- Use tire levers to pry one side of the tire off the rim, exposing the inner tube.
- Carefully remove the inner tube from the tire and rim.
- Inspect the tire for any debris or damage that could have caused a puncture.
- Partially inflate the new inner tube and insert it into the tire, making sure the valve is aligned with the valve hole in the rim.
- Use your hands or tire levers to push the tire bead back onto the rim, ensuring the inner tube is not pinched between the tire and rim.
- Inflate the tire to the recommended pressure and reattach the wheel to the bike.
Conclusion:
By performing these basic bike maintenance tasks regularly, you can keep your bike in top condition and enjoy your rides without worrying about unexpected issues. Happy cycling!
Bike Handling Skills
Title: Bike Handling Skills: Improve Your Bike Control, Balance, and Maneuverability
Bike handling skills are essential for all cycling enthusiasts, whether you’re a beginner or an experienced rider. Improving bike control, balance, and maneuverability will not only make your rides more enjoyable but also help you stay safe on the road. In this guide, we will share various exercises to help you enhance your bike handling skills, such as practicing stopping and starting, making tight turns, and riding with one hand.
1. Stopping and Starting:
Mastering the art of stopping and starting smoothly is an essential skill for all cyclists.
- Start by finding a flat, traffic-free area, such as an empty parking lot or a quiet street.
- Begin riding at a comfortable pace. Practice stopping by gently applying pressure to both brakes simultaneously, while keeping your weight evenly distributed and looking ahead.
- Once you’ve stopped, it’s essential to work on your ability to start smoothly too. Shift to an easy gear before stopping, allowing you to start pedaling with minimal effort. Place one foot on the ground and the other on a pedal at a 45-degree angle, then push off and begin pedaling.
Repeat the stopping and starting exercise until you feel comfortable and can perform the motion smoothly.
2. Tight Turns:
Practicing tight turns helps improve overall bike maneuverability and boosts your confidence when riding in tricky situations.
- Find an open, flat area with enough space to practice turns safely.
- Start by riding slowly in a straight line; then, lean into a tight turn while looking in your turning direction.
- Keep your weight centered over your bike and maintain a slight bend in your knees and elbows. This will ensure better control and balance during the turn.
- Practice turning in both directions to develop equal proficiency with left and right turns.
3. Riding with One Hand:
Developing the ability to ride with one hand is crucial for signaling turns and navigating obstacles on the road.
- Begin by riding slowly in a straight line on a flat surface. While keeping your eyes on the road, slowly lift one hand off the handlebars, being sure to maintain a strong grip with your other hand.
- Practice maintaining your balance and control with only one hand on the handlebars. Start with short intervals (a few seconds) before gradually increasing the duration.
- Once you feel comfortable riding with one hand, practice reaching for your water bottle, adjusting your helmet, or signaling turns – always returning your hand to the handlebar when not performing these actions.
4. Track Stand:
A track stand is the act of maintaining balance on your bike while stopped without putting a foot down. This skill is helpful for stopping at traffic lights or in tight spaces.
- Find a flat, traffic-free area to practice your track stand.
- Begin by stopping your bike with both feet on the pedals, keeping your weight centered over the bike.
- Turn your front wheel slightly to one side and apply light pressure to the back brake. This helps improve balance while stationary.
- Maintain your balance by making small shifts in body weight and steering adjustments. Practice this skill regularly to become comfortable holding a track stand for several seconds.
Regular practice of these key bike handling exercises will significantly improve your bike control, balance, and maneuverability. Always practice in safe traffic-free areas and wear appropriate safety gear, such as helmets and gloves. Over time, you’ll find these skills become second nature and will help to make your cycling experiences safer, more enjoyable, and more efficient. Happy cycling!
Rules of the Road
Title: Keys to Successful Cycling Return: Rules of the Road
Introduction:
As an enthusiast or hobbyist looking to get back into cycling, it is important to become familiar with the rules of the road, local traffic laws, and best practices for sharing the road with motor vehicles, pedestrians, and other cyclists. In this guide, we will cover a variety of topics that will help you ride safely, confidently, and responsibly.
1. Know the Local Traffic Laws:
Before hopping on your bike, take the time to research and understand the traffic laws in your area. While cycling laws can vary from state to state, there are some general rules that all cyclists should follow:
- Ride in the same direction as traffic: Cyclists are required to ride in the same direction as traffic on the road.
- Obey traffic signs and signals: Like any other vehicle on the road, cyclists must follow traffic signs and signals, such as stopping at stop signs and red lights.
2. Cycling Regulations and Equipment:
Make sure you are aware of any specific cycling regulations that apply in your area:
- Helmet Laws: Some states require cyclists to wear helmets, especially for younger riders. Even if it’s not a legal requirement in your area, wearing a helmet can significantly decrease your risk of injury in the event of an accident.
- Bike Lights and Reflectors: Many states require bicycles to have a white front light, a red rear light, and reflectors when riding at night or in low-light conditions. These safety measures make it much easier for motorists to see you.
3. Lane Positioning:
– Ride on the right side of the road: When cycling, ride as far to the right side of the road as is safely possible, giving yourself enough room to maneuver around obstacles or to make left turns.
– Take the lane when necessary: In some cases, it may be necessary for you to “take the lane”, meaning occupying the entire lane of traffic. This can occur when the lane is too narrow to safely share with a motor vehicle or when you are preparing to make a left turn.
4. Intersections and Turns:
– Be extra cautious at intersections: Intersections are where most accidents involving cyclists occur. Always come to a complete stop at stop signs and red lights, and make eye contact with drivers when possible before proceeding.
– Use hand signals: When turning or changing lanes, use hand signals to communicate your intentions to drivers, pedestrians, and other cyclists. Extend your left arm out to the left for left turns, and your left arm up or your right arm out for right turns.
5. Sharing the Road:
– Be predictable: Ride in a straight line, avoid weaving in and out of traffic, and always signal your intentions.
– Communicate with drivers: Make eye contact with drivers when possible and use hand signals to communicate your intentions.
– Be courteous: Share the road with other users by following traffic laws and being respectful to drivers, pedestrians, and other cyclists.
6. Additional Safety Tips:
– Stay alert: Always be aware of your surroundings, and anticipate possible hazards or conflicts, such as car doors opening or pedestrians stepping out into the road.
– Ride defensively: Assume drivers do not see you, and take measures to ensure your safety, such as riding at a safe distance from parked cars to avoid the “door zone.”
– Maintain your bike: Keep your bicycle in good working order by regularly checking brakes, tires, and gears. A well-maintained bike not only ensures a more enjoyable ride but can also prevent accidents.
By familiarizing yourself with the rules of the road and practicing safe cycling habits, you can ensure a successful return to cycling while minimizing the risk of accidents and enjoying the many benefits of this healthy and enjoyable form of transportation.

Photo by fonsheijnsbroek_amsterdam_photos on Unsplash
Cycling Nutrition and Hydration
Title: Cycling Nutrition and Hydration: Fuel Your Rides and Aid Recovery
Introduction:
To enhance your cycling performance and enjoy a successful, long-lasting cycling adventure, it is important to pay attention to your nutrition and hydration. This guide will provide you with insights into pre- and post-ride meal planning, electrolyte replacement, and on-bike nutrition to ensure a successful return to cycling.
1. Pre-Ride Meal Planning:
- Consume a balanced meal 2-3 hours before your ride. This meal should include complex carbohydrates (such as whole grains, fruits, and vegetables), lean protein (such as chicken or fish), and healthy fats (such as avocado or nuts).
- Some examples of a pre-ride meal include oatmeal with fruit and nuts, whole grain toast with avocado and eggs, or a chicken and vegetable stir-fry with brown rice.
- Be mindful of portion sizes and aim not to overeat so as to avoid feeling sluggish during your ride.
2. On-Bike Nutrition:
- For rides longer than 60 minutes, you should consume carbohydrates to maintain energy levels.
- Aim for roughly 30-60 grams of carbohydrates per hour, depending on the individual and intensity of the ride. The longer and more intense the ride, the more carbohydrates you will need.
- Some examples of on-bike nutrition include sports drinks, energy gels, bananas, and electrolyte chews.
- Always make sure to practice eating and drinking on the bike during training rides to determine what works best for your body.
3. Hydration and Electrolyte Replacement:
- Staying hydrated is incredibly important for cyclists. Make sure to sip water regularly throughout the day and during your ride.
- Aim to drink about 500ml (17oz) of water per hour. However, this will vary depending on factors such as temperature, altitude, and individual differences in sweat rate.
- Electrolytes should also be replaced, especially during longer rides or rides in hot climates. Choose an electrolyte sports drink or add electrolyte tablets to your water to help replace essential minerals.
- Remember to practice your hydration strategy during training rides so that you can refine it for your individual needs.
4. Post-Ride Nutrition and Recovery:
- Consume a balanced meal within 30-60 minutes of completing your ride to replenish your energy stores and to aid muscle recovery.
- This meal should include carbohydrates to replenish glycogen stores, protein to aid muscle recovery, and some healthy fats.
- Some examples of post-ride meals include a smoothie with fruit, milk, and protein powder; grilled chicken with roasted vegetables and quinoa; or a turkey and avocado sandwich on whole grain bread.
- In addition to refueling, make sure to rehydrate with water or electrolyte-containing drinks.
Conclusion:
Paying attention to your nutrition and hydration is key to optimizing your cycling experience. By learning about and implementing proper pre- and post-ride meal planning, electrolyte replacement, and on-bike nutrition, you can fuel your rides and aid in your recovery. This will ultimately ensure a successful return to cycling and help you continuously improve your performance and enjoyment on the bike.
Developing a Training Plan
Title: Developing a Training Plan for a Successful Cycling Return
Objective:
Design a progressive cycling training plan to help improve your endurance, strength, and cardiovascular fitness.
Introduction:
Cycling is a low-impact exercise that not only improves your cardiovascular health, but also strengthens your muscles and enhances your overall fitness. Whether you’re new to cycling or returning after a break, developing a well-structured training plan is the key to success. This plan will help you gradually increase your endurance, strength, and cardiovascular fitness by incorporating various cycling techniques and scheduling workouts effectively.
Step 1: Set Your Goals
Before designing your training plan, it’s important to identify your fitness goals. These may include increasing your endurance, improving your cycling speed, or building strength for hill climbing. Having a clear goal will help you stay focused and motivated throughout your training.
Step 2: Determine Your Starting Point
Perform a self-assessment of your current cycling ability. If you’re new to cycling, start with shorter distances and slower speeds. If you’re returning to cycling after a break, consider your previous experience and what you need to improve upon. Understanding your starting point will help you design a plan that’s suitable for your current level and gradually builds towards your goals.
Step 3: Structure Your Training Plan
Divide your training plan into progressive cycles, which usually last 4 to 6 weeks. Each cycle should include the following three phases:
- Base Phase: Focus on building your aerobic base by doing long, slow rides at a comfortable pace. This phase should comprise 60-70% of your total training volume.
- Build Phase: Increase the intensity of your workouts by incorporating hills, intervals, and tempo rides. This phase should account for 20-30% of your total training volume.
- Peak Phase: Focus on fine-tuning your cycling skills and incorporating short, high-intensity workouts. This phase should account for 10-20% of your total training volume.
For optimal results, allocate sufficient recovery time between the phases. Recovery allows your muscles to repair, adapt, and prepare for the next training cycle.
Step 4: Schedule Your Workouts
Create a weekly training schedule that balances various types of workouts, including long rides, hill repeats, and interval training. A typical week may include:
- 3-4 endurance-focused rides (longer, slower rides)
- 1-2 high-intensity workouts (hill repeats or interval training)
- 1-2 days dedicated to recovery (active recovery rides or complete rest)
Remember to give yourself rest days to prevent overtraining and reduce the risk of injury.
Step 5: Monitor Your Progress
Track your workouts to ensure you’re following the training plan and meeting your goals. Note the distance, intensity, and duration of each ride, along with any subjective information such as how you felt during the workout. Regularly reviewing this data can help identify areas where you’re making progress or where adjustments may be needed.
Step 6: Adjust Your Plan As Needed
As your fitness level improves, you may need to adjust your training plan to continue progressing towards your goals. This may include increasing the distance of your rides, incorporating more challenging workouts, or adjusting your weekly schedule.
Conclusion:
Developing a structured cycling training plan is essential for improving your endurance, strength, and cardiovascular fitness. By setting goals, understanding your starting point, and implementing various training techniques, you’ll be well on your way to a successful cycling return. Remember to monitor your progress, adjust your plan as needed, and prioritize recovery to ensure long-term success in your cycling endeavors. Happy riding!
Overcoming Mental Barriers
Title: Overcoming Mental Barriers to Achieve Successful Cycling Return
Introduction:
Cycling is a sport that requires not only physical strength and endurance but also a strong mental game. Overcoming mental barriers can help you stay on track and achieve your goals as a cycling enthusiast or hobbyist. In this guide, we will explore several mental strategies to help you remain motivated, disciplined, and focused on achieving your cycling goals, even when faced with setbacks or challenging conditions.
1. Set Specific and Realistic Goals:
Goal setting is a crucial aspect of staying motivated and focused. Make sure you set specific, achievable, and time-bound goals for your cycling return. These goals can be related to distance, speed, or even weight loss. Having clear objectives help give you a sense of direction and make it easier for you to measure your progress.
2. Visualize Success:
Visualization is a powerful mental tool for cyclists. Try to picture yourself successfully riding through challenging situations, such as up steep climbs or in terrible weather conditions. By mentally preparing yourself for these obstacles, you can improve your ability to tackle them head-on in real life.
3. Break It Down:
Instead of focusing on the end goal, break your cycling journey into smaller, more manageable tasks. Take one ride at a time and celebrate each accomplishment as it comes. This helps to build momentum and confidence in your abilities, making it easier to stay motivated and on track.
4. Develop a Positive Mental Attitude:
A positive mental attitude is critical for overcoming mental barriers. Keep your self-talk encouraging and affirmative, focusing on the progress you have made or the improvements you are working toward. Controlling your thoughts can have a significant impact on your mood, motivation, and overall performance.
5. Create a Support System:
Surround yourself with people who support and motivate you. Cycling with friends or joining a local cycling group can provide camaraderie and friendly competition that can push you to achieve your goals. Sharing your successes and challenges with others can also help you to stay accountable and motivated.
6. Embrace Challenges:
Accept that setbacks and challenges are a natural part of any journey. Learning to embrace these challenges and viewing them as opportunities for growth and improvement can help you build resilience and mental toughness.
7. Manage Stress and Anxiety:
Engage in activities that help you manage stress and anxiety, such as meditation, yoga, or spending time in nature. Developing healthy coping mechanisms can have a positive impact on your mental wellbeing and overall cycling performance.
8. Reward Yourself:
Acknowledge your efforts and reward yourself when you reach milestones. These rewards can be as simple as a small treat, a night out, or buying yourself new cycling gear. Positive reinforcement can go a long way in keeping you motivated and committed to your cycling return.
9. Reflect and Adjust:
Regularly evaluate your progress and reflect on your experiences. If you find that a particular mental strategy is not working, be open to trying something new. Learn from your mistakes and adjust your approach as needed.
Conclusion:
Overcoming mental barriers is essential for a successful cycling return. By incorporating these mental strategies into your routine, you can develop the motivation, discipline, and focus required to achieve your cycling goals. Stay positive and embrace the journey, and most importantly, enjoy the ride!
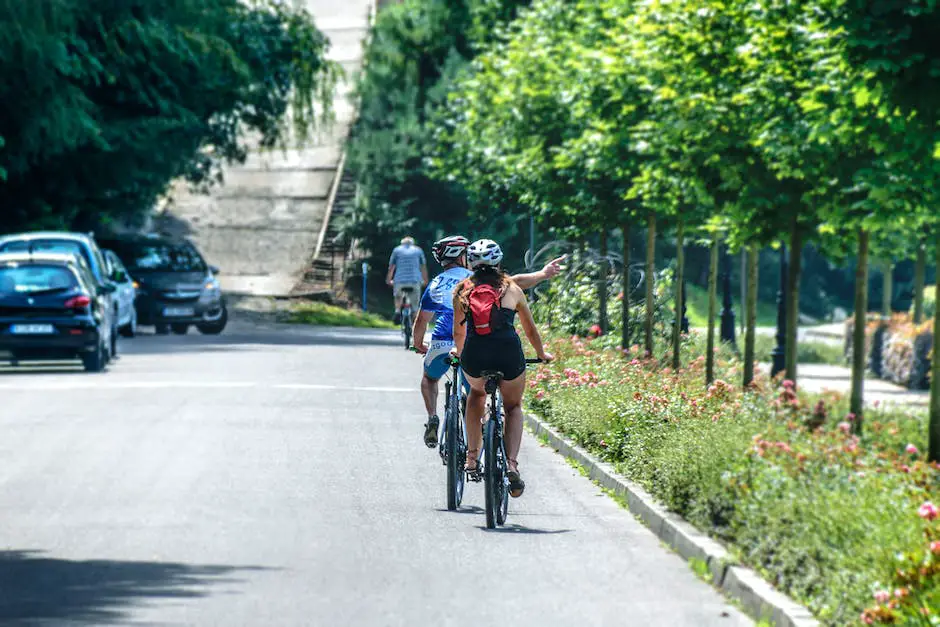
Group Rides and Cycling Community
Title: Keys to Successful Cycling Return: Group Rides and Cycling Community
Cycling is a fun and healthy pastime that can be enjoyed by individuals of all ages and skill levels. One of the best ways to improve your cycling skills, stay motivated, and connect with other enthusiasts is to participate in group rides, join local clubs, and attend cycling events. In this guide, we will provide instructions on how to get involved in your local cycling community, ensuring a successful return to the sport.
Step 1: Research local group rides and clubs
- Start by searching online for local group rides and cycling clubs in your area. Websites like Meetup and Facebook are great resources for finding groups that cater to cyclists of all abilities and interests.
- Discover local bicycle shops, as they often sponsor group rides or have information on upcoming events and clubs. By visiting, you can also receive expert advice and gear recommendations.
- Reach out to friends, coworkers, or acquaintances who enjoy cycling and ask if they have any suggestions or would like to accompany you on a group ride.
Step 2: Choose the right group or club for you
- Identify your skill level and interests. It’s essential to find a group or club that caters to your specific needs, whether you are a beginner, an experienced road cyclist or a mountain biker.
- Consider what you hope to gain from joining a group or club. This may include fitness, competition, or simply social interaction.
- Contact the group or club to ask about the average pace and distance of their rides, the terrain they cover, and the overall vibe and goals of the group. This information will help you determine if the group is suitable for you.
Step 3: Attend a group ride or club meeting
- Choose a ride or meeting that fits your schedule and skill level.
- Arrive early to introduce yourself to the group and get familiar with the route and any specific rules or guidelines.
- Bring your bike, helmet, water, snacks, and any necessary tools for fixing flats or making minor adjustments.
- Remember to have fun, be open to learning from others, and respect the pace and abilities of your fellow cyclists.
Step 4: Engage with the cycling community
- Participate in local events such as charity rides, races, or cycling festivals to meet other cyclists and further immerse yourself in the community.
- Use social media to share your experiences, ask questions, or share information about upcoming events and rides.
- Consider volunteering at local cycling events or for organizations that promote cycling.
Step 5: Maintain safe and supportive cycling practices
- Always wear a helmet and appropriate safety gear and make sure your bike is well-maintained.
- Follow traffic laws and ride in a manner that is predictable to both motorists and fellow cyclists.
- Be supportive and welcoming to cyclists of all skill levels, and understand that everyone can learn from one another.
Conclusion:
By following these steps, you will be on your way to fully enjoying the benefits and camaraderie of group rides and the cycling community. Not only will this enhance your skills and motivation, but it will also allow you to make new friends and create lasting memories on the bike. So go ahead, get involved, and pedal your way to success.
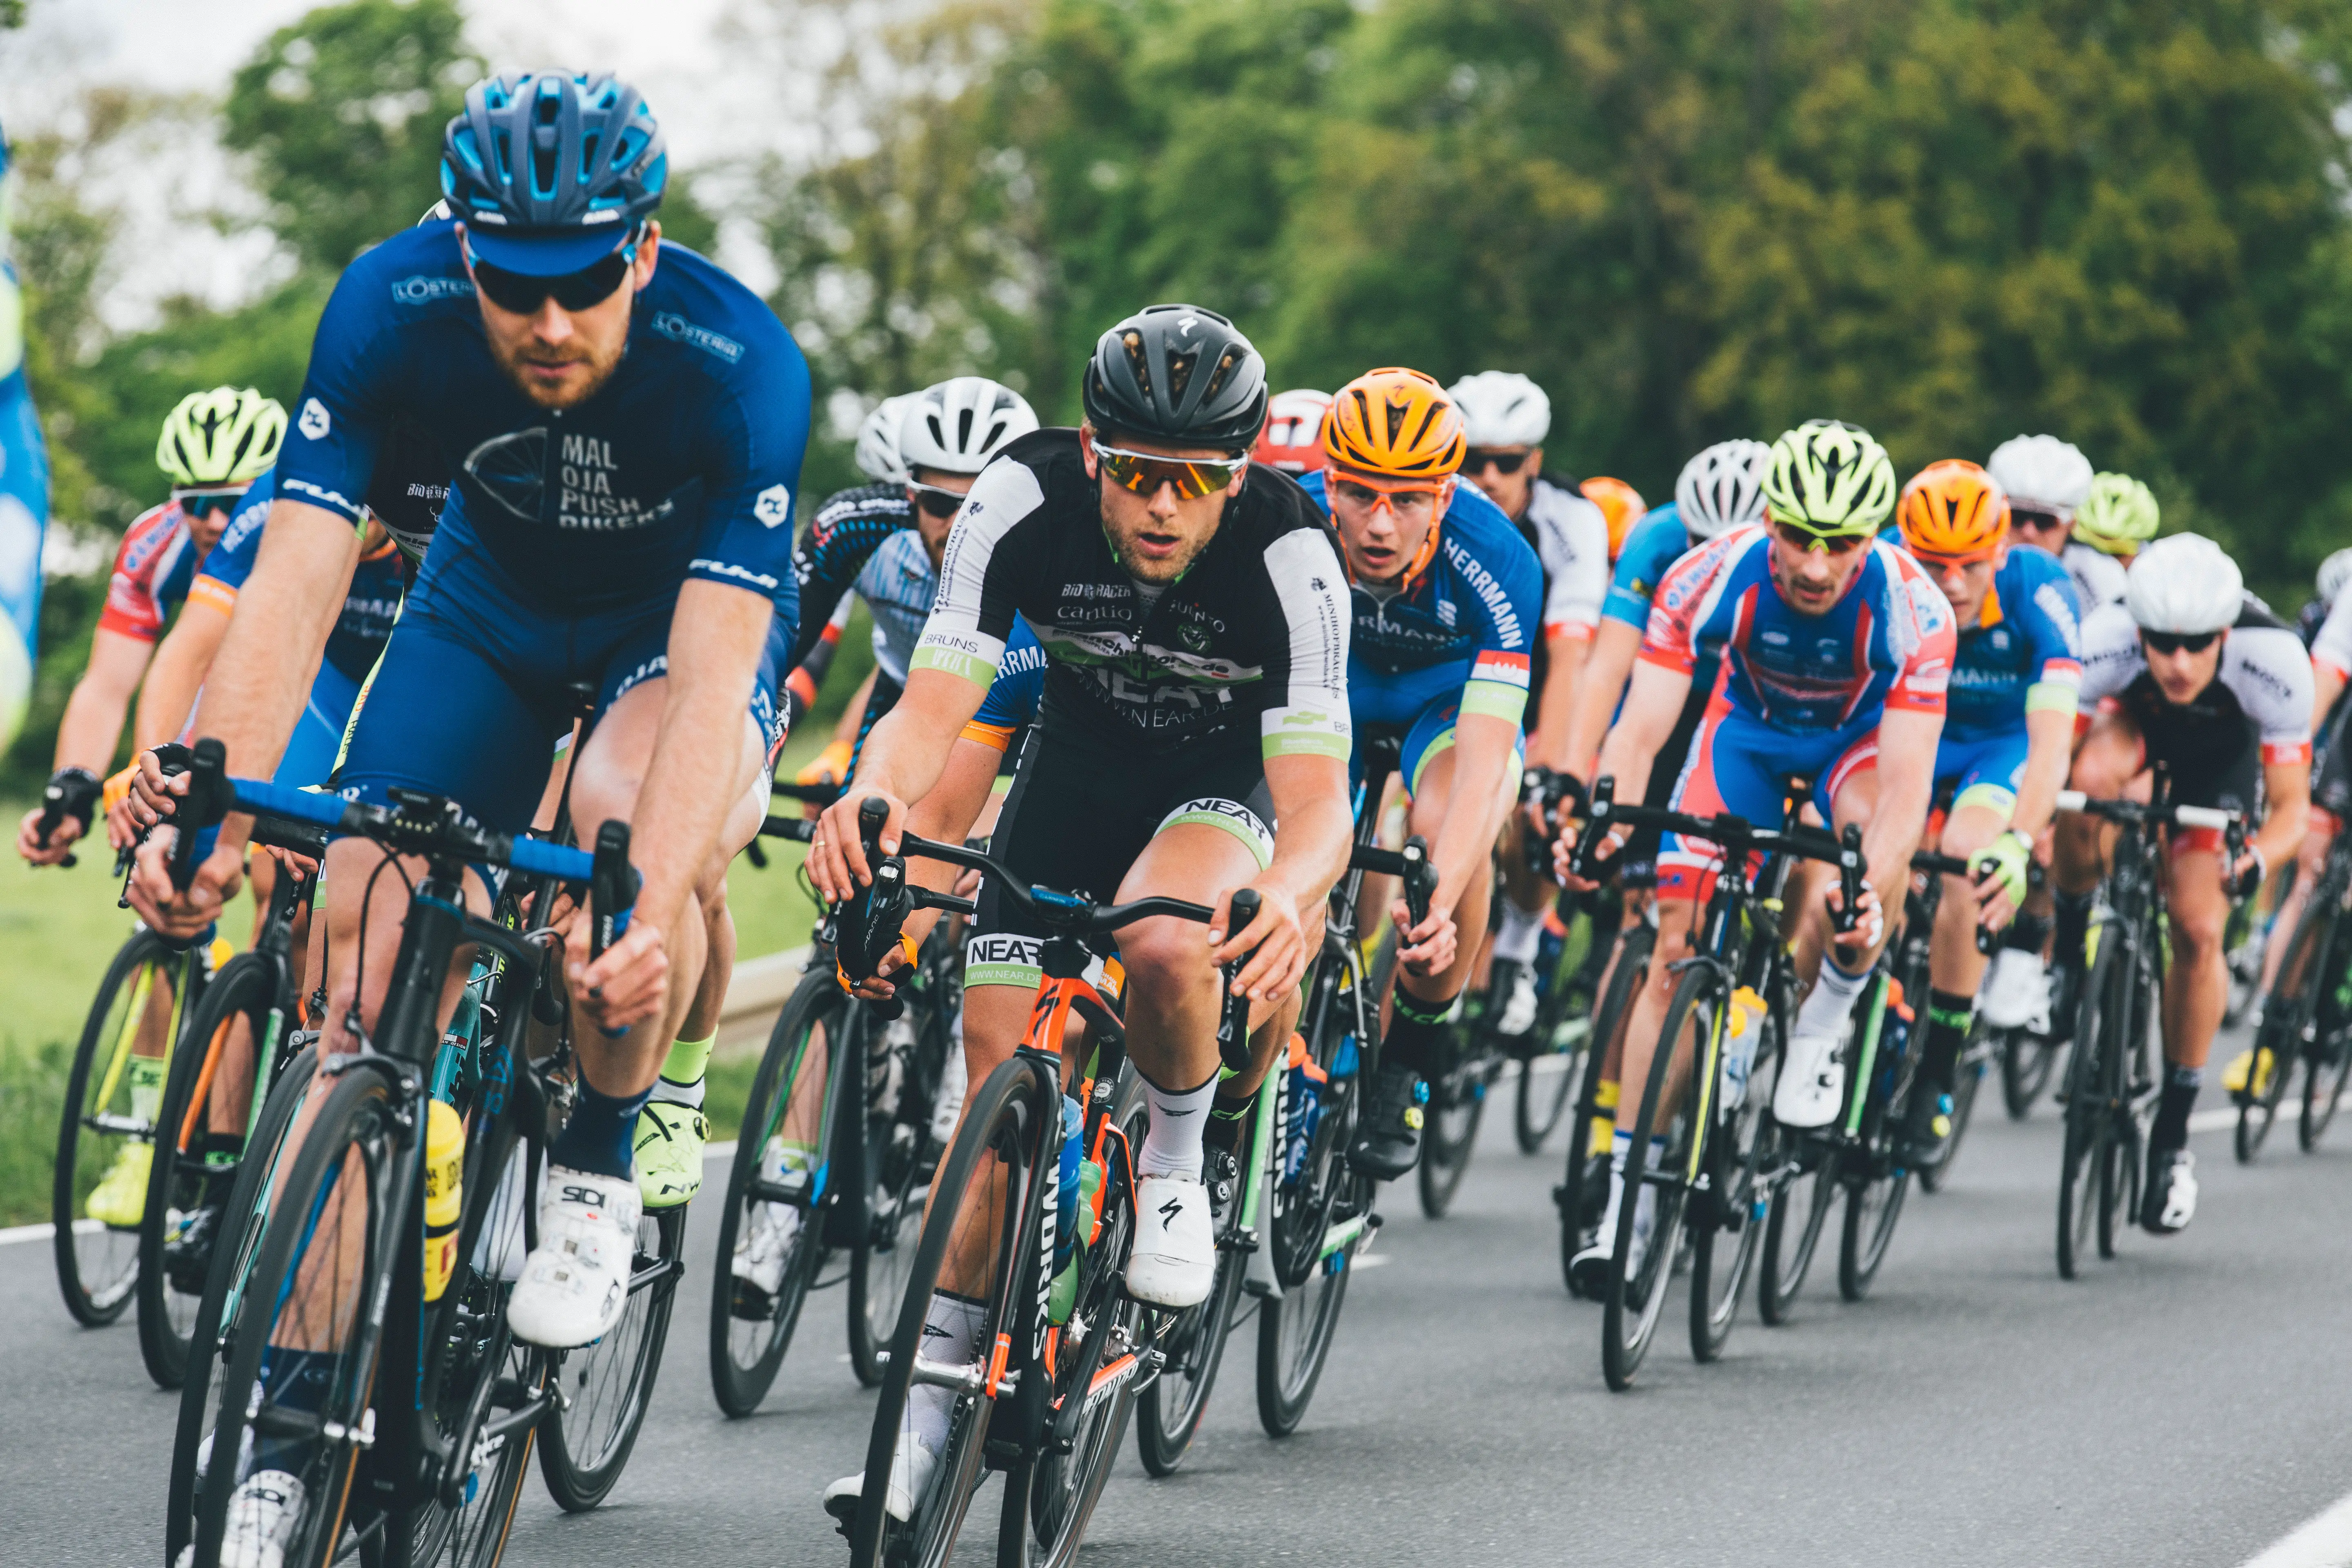
Photo by markusspiske on Unsplash
By taking the time to understand and implement the various elements outlined in this guide, you will be well on your way to enjoying a successful return to cycling or becoming a more informed and skilled cyclist. As you delve deeper into this rewarding activity, always prioritize safety, comfort, and enjoyment. Remember to stay motivated, be open to learning, and don’t forget to relish the camaraderie of the cycling community. Here’s to many happy and successful rides ahead!
